

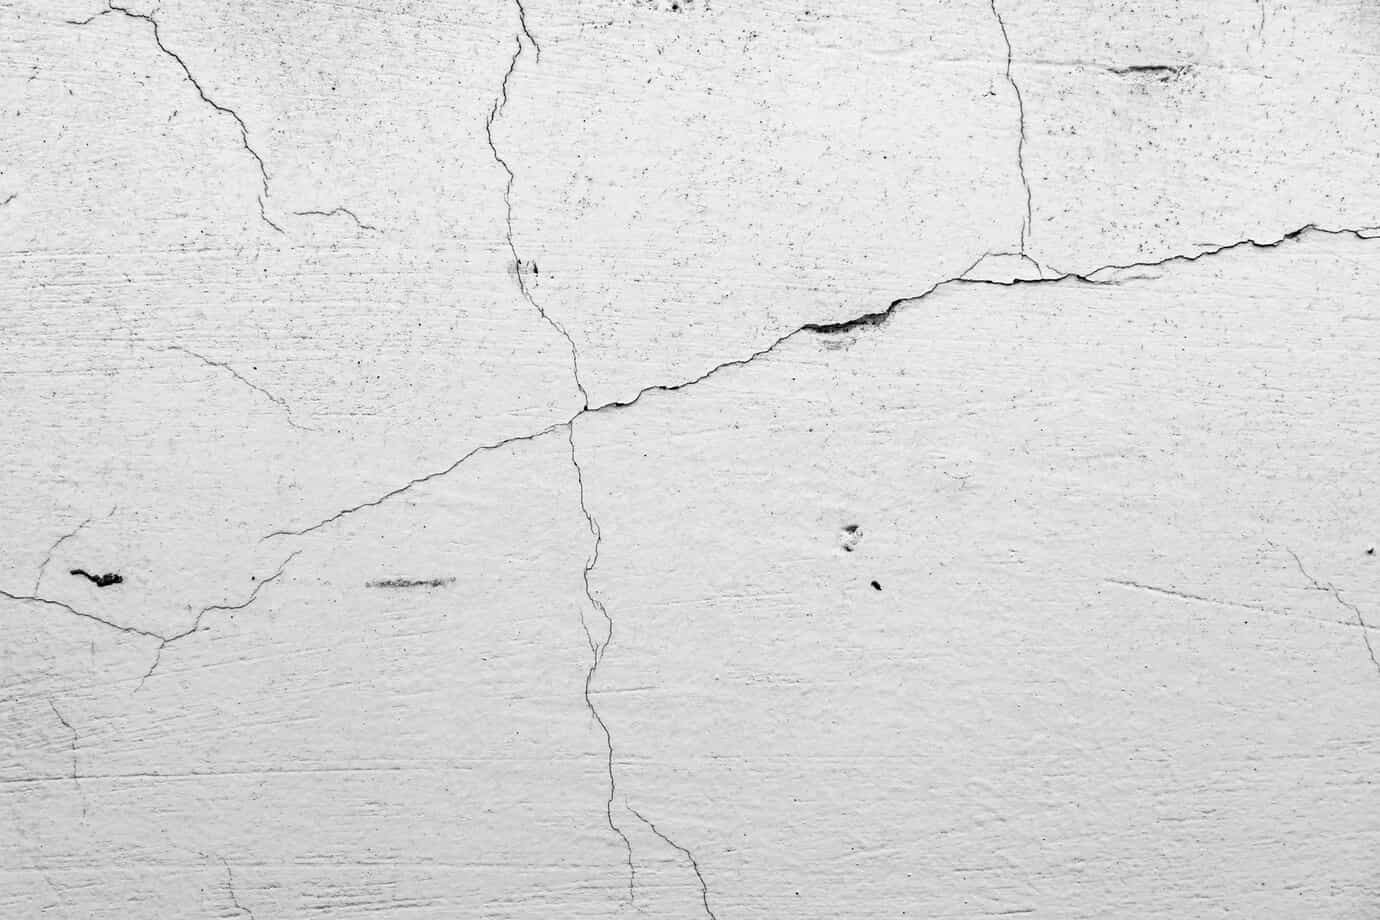
How to Fix Vertical Cracks in Drywall Like a Pro
If you’ve noticed vertical cracks in your drywall, don’t worry! You’re not alone. Drywall cracks are a common issue in many homes, especially as buildings settle over time. Whether these cracks are caused by temperature changes, humidity, or simply the natural settling of the house, fixing them is easy with the right tools and steps.
At Matsu Painters, we believe in making home repairs simple and affordable for everyone. So, let’s dive into how you can fix those vertical cracks in drywall like a professional.
What Causes Vertical Cracks in Drywall?
Before jumping into the repair process, it’s important to understand what causes these vertical cracks in drywall. Vertical cracks in drywall are typically a sign that the house is settling or that there are shifts in the foundation. These cracks can happen over time due to:
House Settling: As your home ages, it may shift slightly. This natural settling can cause small cracks in the drywall, particularly along the seams.
Temperature and Humidity: Changes in temperature and humidity can cause materials in your home to expand and contract. This movement can lead to cracks in the walls.
Poor Installation: Sometimes, cracks can happen if the drywall was not installed correctly in the first place.
Structural Issues: In some cases, cracks could be a sign of a more serious problem with your home’s foundation.
Now that you know what causes these cracks, let’s talk about how to fix them.
Materials You’ll Need
To fix vertical cracks in drywall, you'll need a few basic tools and materials. Here’s a list to get you started:
Drywall compound (also known as joint compound or spackle)
Putty knife
Sandpaper or sanding block
Painter’s tape (optional)
Primer and paint (to match the existing wall color)
Drywall tape (optional, depending on the size of the crack)
Step-by-Step Guide to Fixing Vertical Cracks in Drywall
Step 1: Prepare the Area
Start by preparing the area around the crack. Clear any furniture or items away from the wall to avoid getting dust or drywall compound on them. If you’re working with a large crack, consider putting painter’s tape around the crack to protect the surrounding wall from the compound.
Step 2: Clean the Crack
Using a utility knife or a putty knife, clean out the crack. You want to remove any loose drywall or debris that may be inside the crack. This will help the compound stick better and create a smoother finish. Be gentle with this step to avoid making the crack worse.
Step 3: Apply the Drywall Tape (if needed)
If the crack is wide or deep, you may need to apply drywall tape. Cut a piece of tape that is slightly longer than the crack and press it into the crack. This tape will help hold the drywall compound in place and prevent the crack from reopening.
Step 4: Fill the Crack with Drywall Compound
Once the crack is clean and the tape is in place (if needed), use a putty knife to spread the drywall compound over the crack. Apply a thin layer of compound, making sure to fill the crack completely. Smooth the compound with the putty knife, and make sure it’s level with the surrounding wall.
Step 5: Let it Dry
Allow the compound to dry completely. This may take a few hours, depending on the thickness of the layer you applied. It’s important to let it dry fully to avoid smearing or ruining the smooth finish.
Step 6: Sand the Area
Once the compound is dry, use sandpaper or a sanding block to smooth out the patched area. Sand the surface gently to avoid damaging the wall. If the patch is still uneven, you can apply a second layer of drywall compound, let it dry, and sand again until the surface is smooth.
Step 7: Prime and Paint
After the area is smooth, it’s time to finish the repair. Apply a coat of primer to the patched area. This helps seal the compound and ensures that the paint will adhere properly. Once the primer is dry, paint over the patch to match the rest of the wall. If needed, apply a second coat of paint for a uniform look.
Tips for a Perfect Finish
Don’t Rush: Take your time during each step. Allow the compound to dry fully and sand gently for a smooth finish.
Use Quality Tools: High-quality putty knives, sanding blocks, and drywall compound will make the job easier and the results better.
Paint in the Same Direction: When painting, make sure to paint in the same direction as the existing paint to avoid noticeable brush marks.
Clean as You Go: Keep a damp cloth handy to wipe off excess compound that might spill onto the surrounding wall.
Conclusion: Fixing Vertical Cracks in Drywall
Fixing vertical cracks in drywall is a simple and affordable task that you can do yourself. With just a few basic tools and some patience, you can restore your walls to their original condition and enjoy a smooth, even surface once again. Remember, if you’re not comfortable doing it yourself or if the crack seems larger than expected, don't hesitate to contact professionals like Matsu Painters. They can handle drywall repairs and ensure your home looks its best.
At Matsu Painters, we pride ourselves on providing high-quality drywall repair services. Whether you need help with small cracks or larger repairs, we’re here to help. Don’t let cracks in your walls ruin your home’s appearance. Contact us today for professional drywall repairs that will leave your home looking as good as new!
FAQs About Fixing Vertical Cracks in Drywall
Q1. Can I fix vertical cracks in drywall without drywall tape?
A: Yes, for small or shallow cracks, you can simply fill them with drywall compound. However, for larger cracks, drywall tape is recommended for added strength and stability.
Q2. How long does it take for the drywall compound to dry?
A: Drywall compound typically takes about 4-6 hours to dry, depending on the thickness of the layer. You may need to wait longer if you applied multiple coats.
Q3. Should I be concerned if there are vertical cracks in my drywall?
A: Small vertical cracks are usually a normal part of home settling. However, if the cracks are large or seem to be worsening, it’s a good idea to consult a professional to check for any underlying structural issues.