

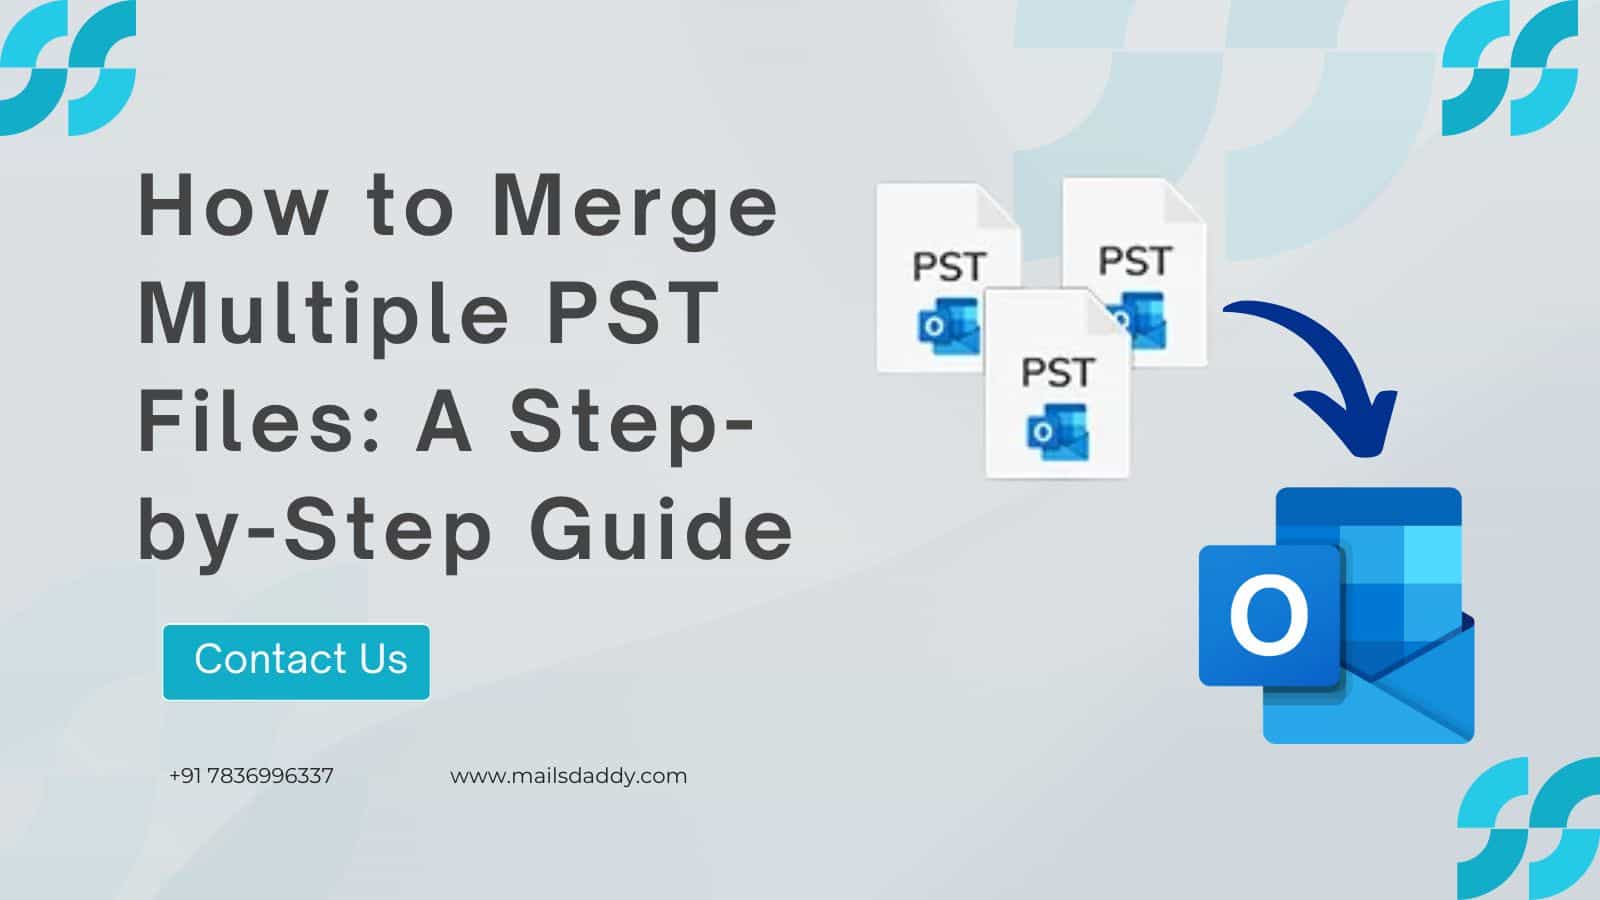
How to Merge Multiple PST Files: A Step-by-Step Guide
Microsoft Outlook users often manage several PST files due to backups, multiple accounts, or data separation. Over time, these scattered files can become challenging to organize, access, and manage. That’s where the need to merge multiple PST files arises. Combining these files helps streamline mailbox data, improves Outlook performance, and ensures better data accessibility. In this guide, we'll explain how to merge PST files using both manual methods and advanced tool.
Why Merge Multiple PST Files?
Before we get to the steps, let’s understand why you might want to combine PST files:
- Easier Management: One file is simpler to handle than many.
- Better Organization: No more switching between accounts or folders to find emails.
- Improved Performance: Fewer PST files can make Outlook run smoother.
- Data Safety: Merging reduces the risk of losing or corrupting files.
Whether you're a student, professional, or small business owner, merging multiple PST files can make your email life much easier.
Manual Method to Combine PST Files
You can merge PST files without any special software by using Outlook’s built-in features. Here’s a simple step-by-step guide to combine multiple PST files manually:
Step 1: Create a New PST File
- Open Microsoft Outlook on your computer.
- Click New Items in the Home tab, then select More Items > Outlook Data File.
- Choose a location to save the new PST file, give it a name, and click OK. This creates a blank PST file to store your merged data.
Step 2: Import Existing PST Files
- In Outlook, go to File > Open & Export > Import/Export.
- Select Import from another program or file and click Next.
- Choose Outlook Data File (.pst) and click Next.
- Click Browse to select the PST file you want to merge, then click Next.
- Choose how to handle duplicates (e.g., “Do not import duplicates”) and select the folder where you want the data to go.
- Click Finish to import the data into the new PST file.
- Repeat this process for each PST file you want to merge.
Pros of the Manual Method
- Free and uses Outlook’s built-in tools.
- No need to install extra software.
Cons of the Manual Method
- Time-consuming, especially for multiple files.
- Risk of errors if steps aren’t followed carefully.
- May not handle large or password-protected files well.
Professional Way to Consolidate multiple PST files
For a faster, safer, and more efficient way to merge multiple PST files, consider using a PST MERGE TOOL like MailsDaddy PST Merge Tool. This professional software is designed to combine PST files effortlessly, even for beginners.
Key features of this tool:
- Supports All PST Types: Works with ANSI, Unicode, archive, and password-protected PST files.
- Removes Duplicates: Automatically skips duplicate emails, contacts, or calendars.
- Preserves Data: Keeps folder structure, email formatting, and attachments intact.
- User-Friendly: Simple interface that anyone can use, even a 15-year-old!
- Fast and Reliable: Merges large files quickly without Outlook installed.
- Free Demo: Try merging the first 20 items per mailbox for free.
How to Use MailsDaddy PST Merge Tool
Follow these steps to merge PST files with this PST merger:
- Download and Install: Get the MailsDaddy PST Merge Tool from their official website and install it on your Windows computer.
- Add PST Files: Open the tool and click Add File to select the PST files you want to merge. You can add multiple files at once.
- Choose Merge Option: Select whether to merge all folders into one or keep them separate (Join option).
- Set Destination: Pick where to save the merged PST file (new PST, existing PST, or Outlook profile).
- Remove Duplicates: Check the “Skip Duplicate Items” box to avoid repeated data.
- Start Merging: Click Merge and wait for the process to complete. The tool will show a confirmation when done.
Why Choose MailsDaddy?
- Global Compatibility: Works on all Windows versions and supports Outlook 2019, 2016, 2013, and older.
- Safe and Secure: No data loss or corruption during the merge.
Tips for a Successful PST Merge
- Backup First: Always save a copy of your PST files before merging.
- Check File Size: Large PST files may need a tool like MailsDaddy for smooth merging.
- Test the Tool: Use the demo version of a PST merge tool to ensure it meets your needs.
- Update Outlook: Make sure your Outlook is up to date for the manual method.
Conclusion
In this blog, we discussed how to combine two or more PST files into a single Outlook PST file, covering both the manual method and an advanced solution. While the manual method is free, it can be slow and complicated, especially with large or complex files. For a smoother experience, the MailsDaddy PST Merge Tool is a top choice. It quickly and safely merges multiple PST files into one, making Outlook data management much easier. It efficiently works with all editions of Windows including Win 11, 10, 8.1, 8, 7, and earlier.